How To Implement Your Brand Identity Suite
You have a new brand identity—now let’s show it off! It’s complete with the main logo, a brandmark, logo variations, colors, and fonts. You’re ready to start the next phase: implementing all of those visuals.
We will take you through the steps to use your new branding, and lastly, provide a list of places to visit to replace your old branding, fonts, and colors.

Step One: Familiarize Yourself With All of the Brand Files
Your brand identity is much more than just one logo file. It’s a collection of several different file formats and color variations for print and digital needs, as well as details on a specific color palette and fonts to use throughout your efforts. These visuals set the tone for the business. Your brand is the connection your customer has to your business, they recall these visuals and ultimately it’s what sets you apart from the crowd. Take a moment to explore all of the brand goodies, learning where each logo/brandmark/icon have been filed and how they are organized in their folders.
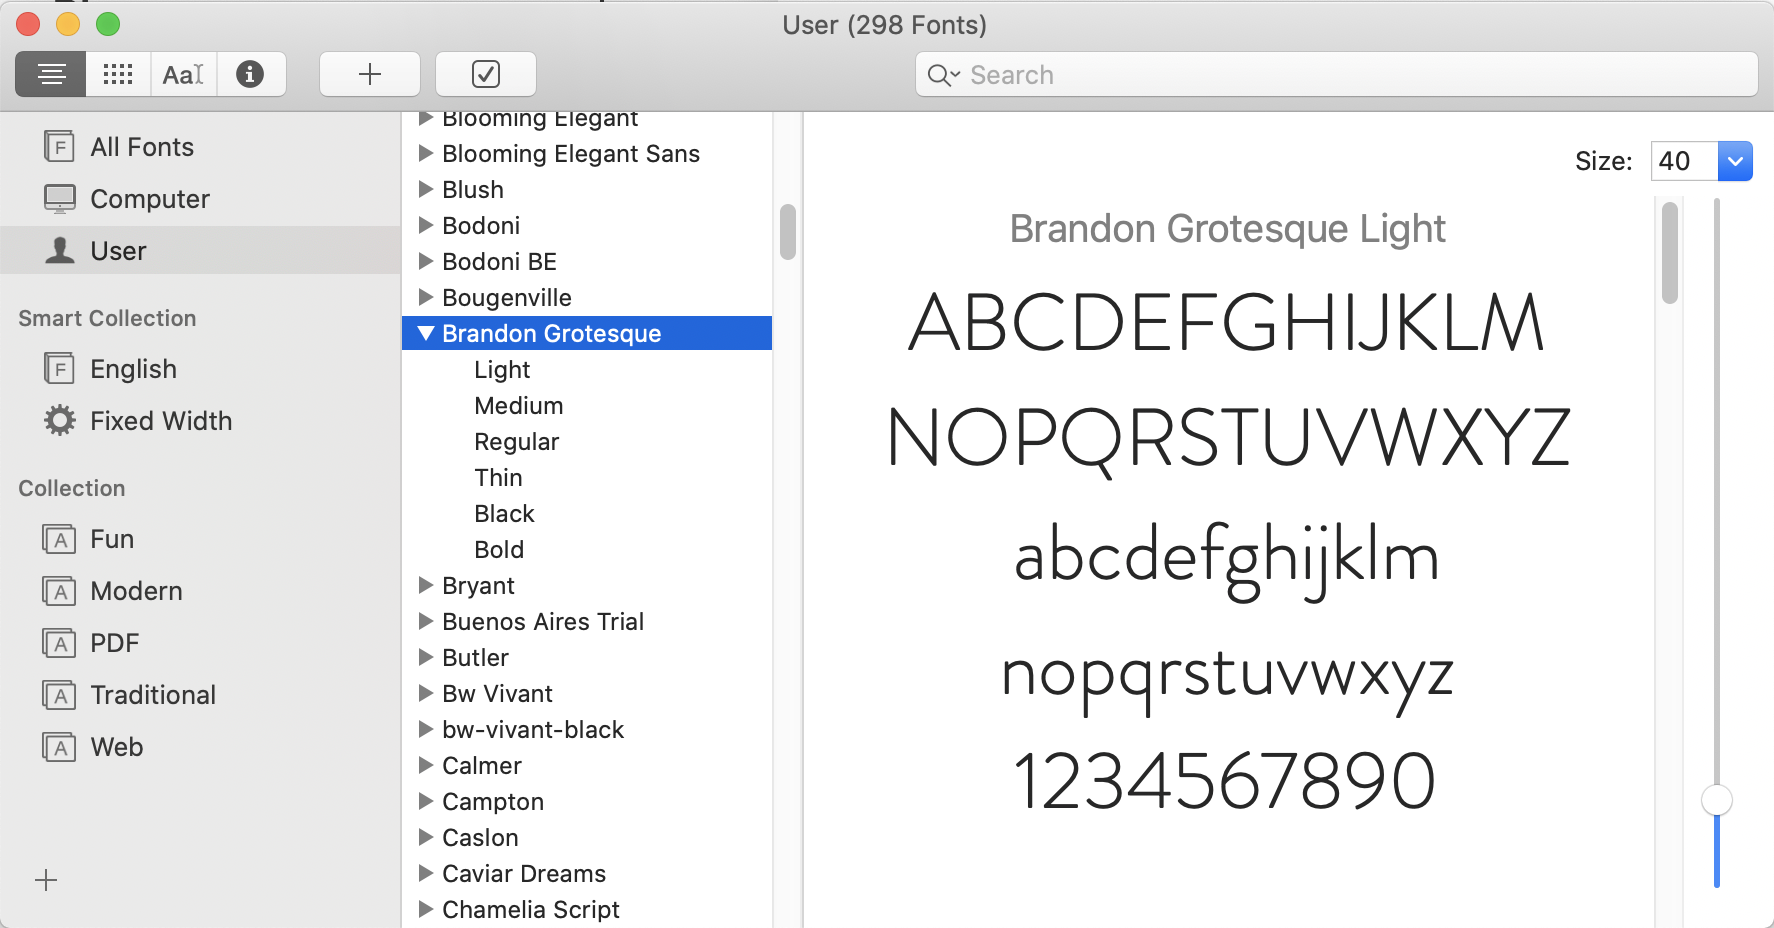
Step Two: Install and Use Fonts
Branding includes selected fonts to use throughout your collateral (print and digital) to create a consistent look. You may need to install the fonts on the computer and refer to the recommend fonts to use a few times to get in the habit. The fonts you install on your computer may not be available on websites, so we recommend identifying Web Fonts that reflect your Brand Fonts as closely as possible.


How to install a font:
First, close out of all open applications on your computer
This includes your Microsoft Office programs or Adobe design programsDownload your fonts
Common font file formats are OpenType (.otf), TrueType (.ttf), or PostScript Type 1 (.ps1), and are preset for installation.Unzip your file
If you’re downloading a font from the internet, the file may be zipped, or compressed. To unzip the file, simply right click the icon and select “Extract All” or double click the file if on a Mac.Install your font
On a Mac, simply double -clicking on the font file (.otf, .ttf, or .ps1) will open a new dialog box with a preview of the font and an “Install Font” button in Font Book.
On a PC, navigate to Control Panel > Appearance and Personalization > Fonts, then click File > Install New Fonts, locate where your font file is located and click Install.

Step Three: Reference your brand color palette and input the color codes
Your brand has a specific color story. The color codes can be used in programs you use such as Powerpoint, Word, your website, etc. Also, refer to the colors when you are ordering brand goods such as print materials, apparel, signage, etc.
Step Four: Update all the places customers see your brand
Consistency is key to a well-branded business. Make sure to showcase your brand’s image and voice. Each business has a custom list of places to update the logo and brand elements, we’ve curated a general list to get you started.


“Make a list and enjoy checking off all those boxes!”
Where to implement your new branding:
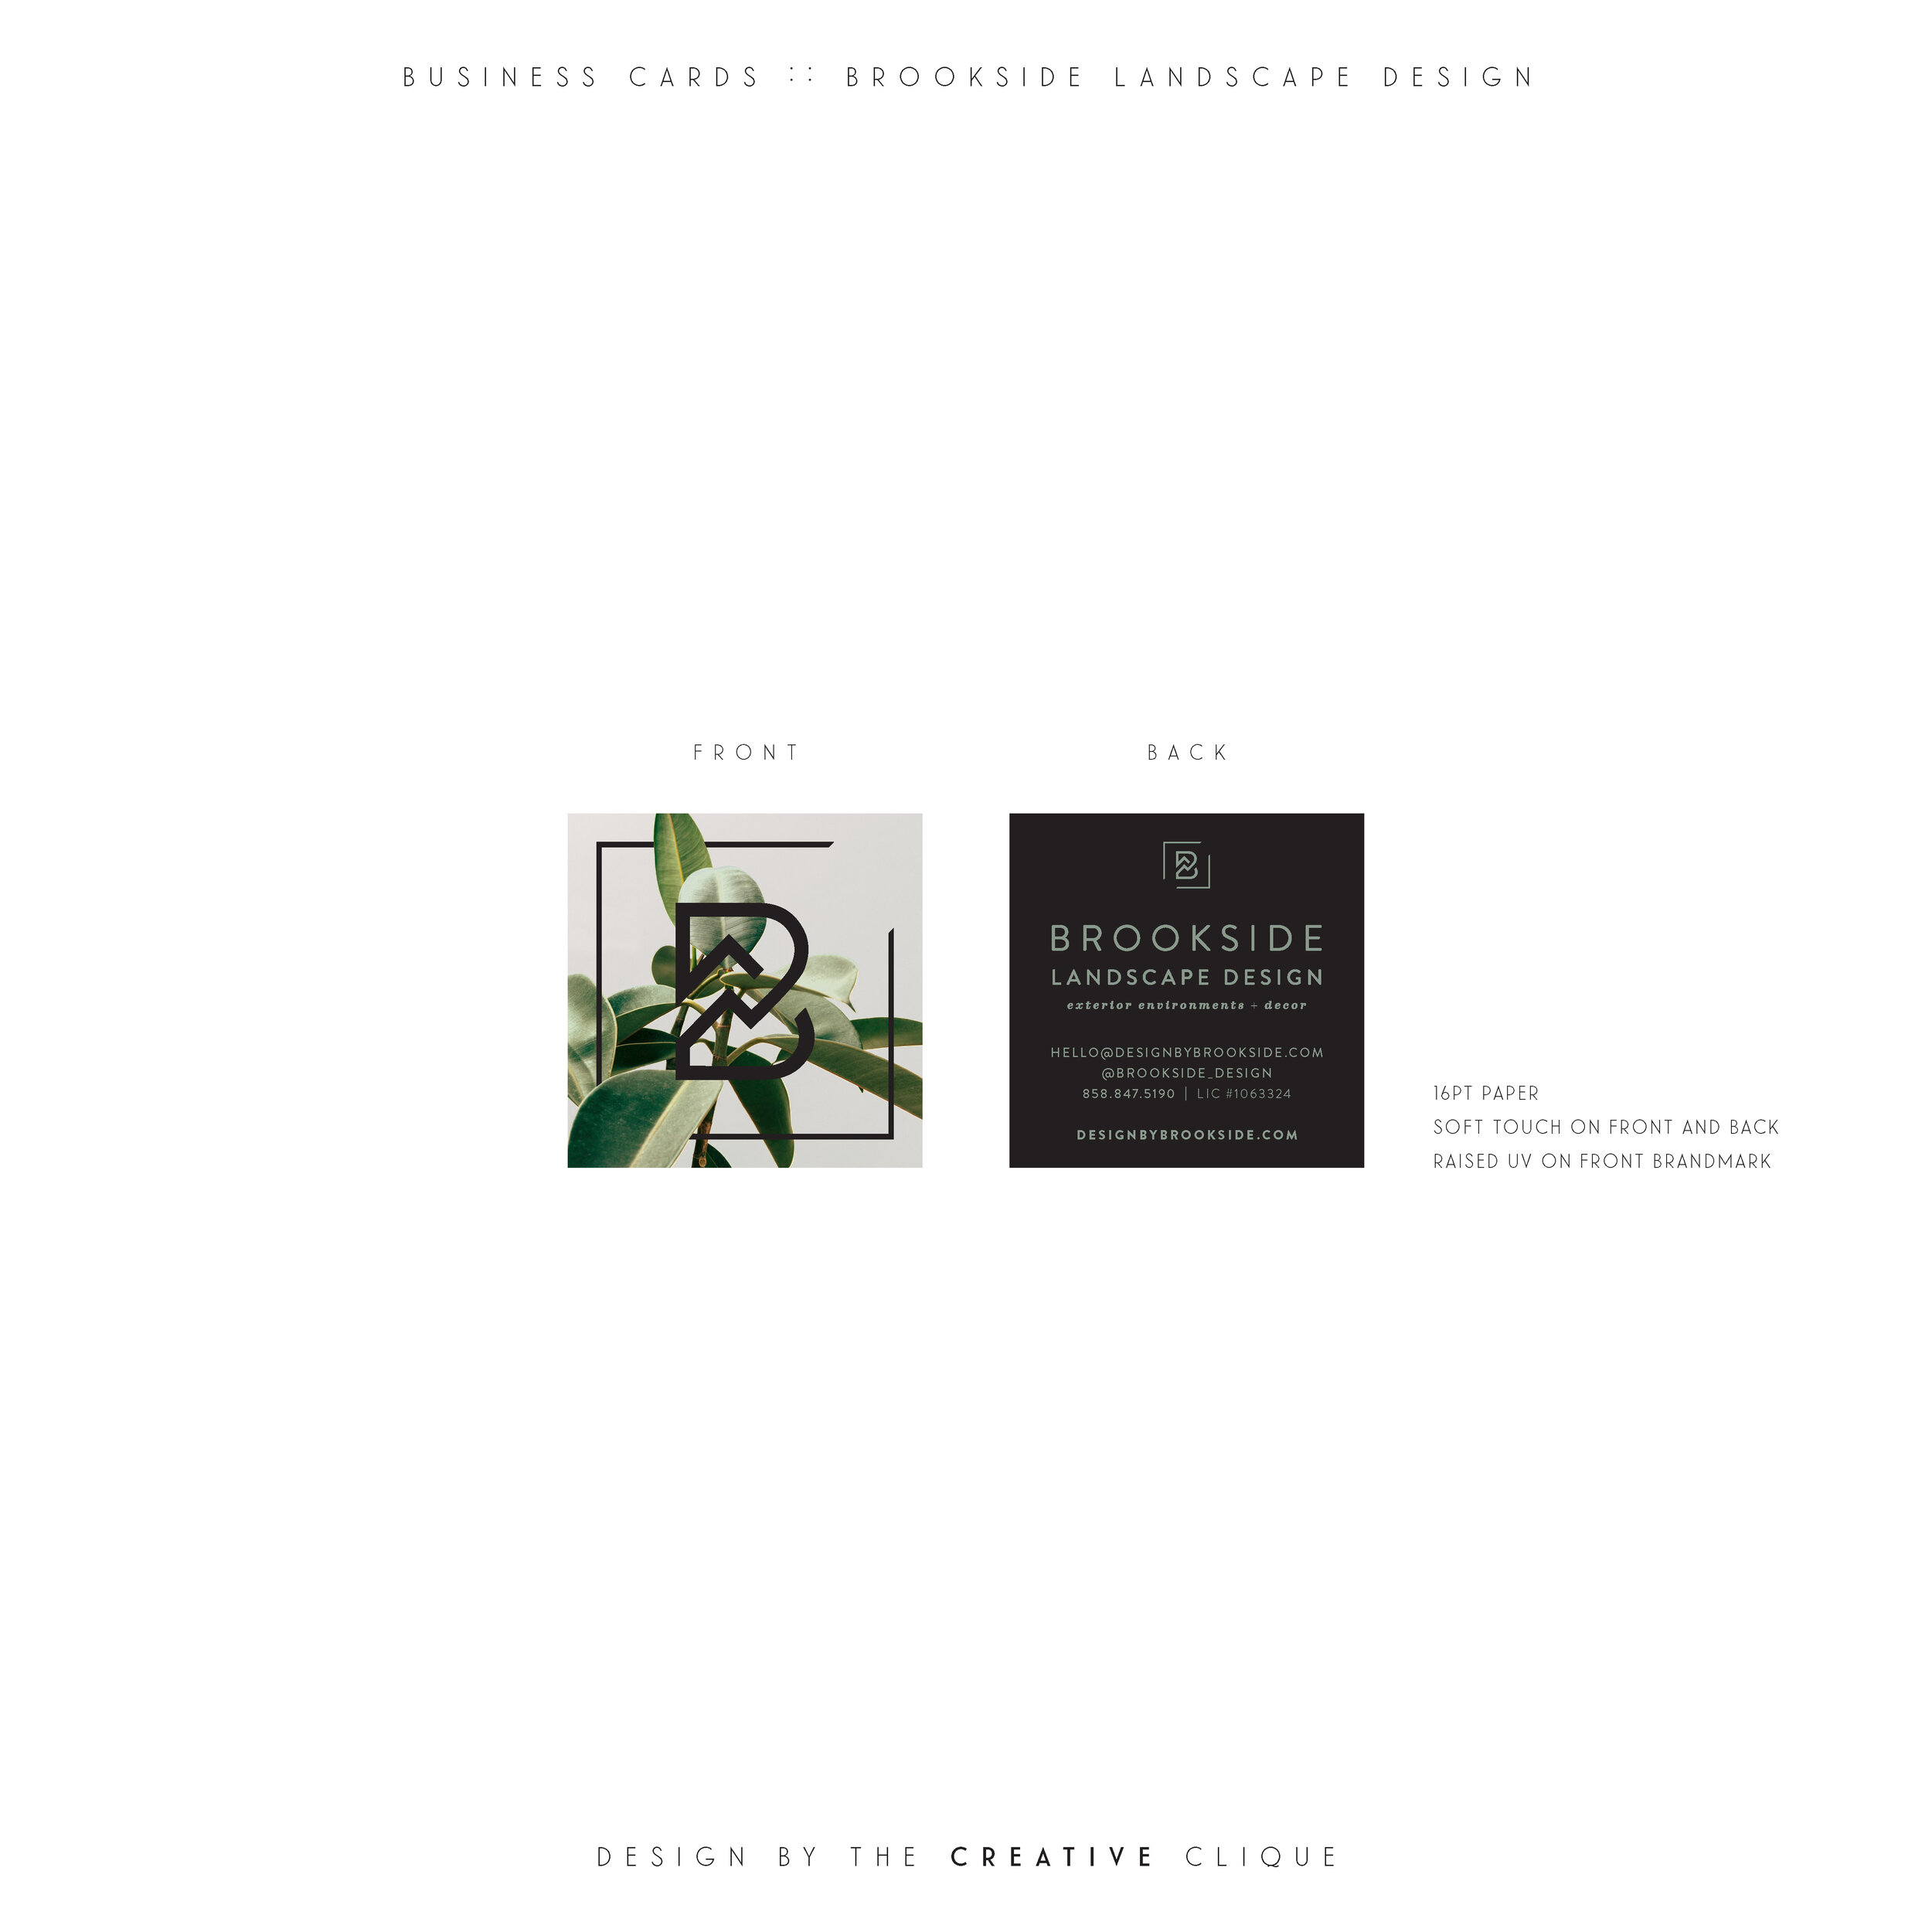
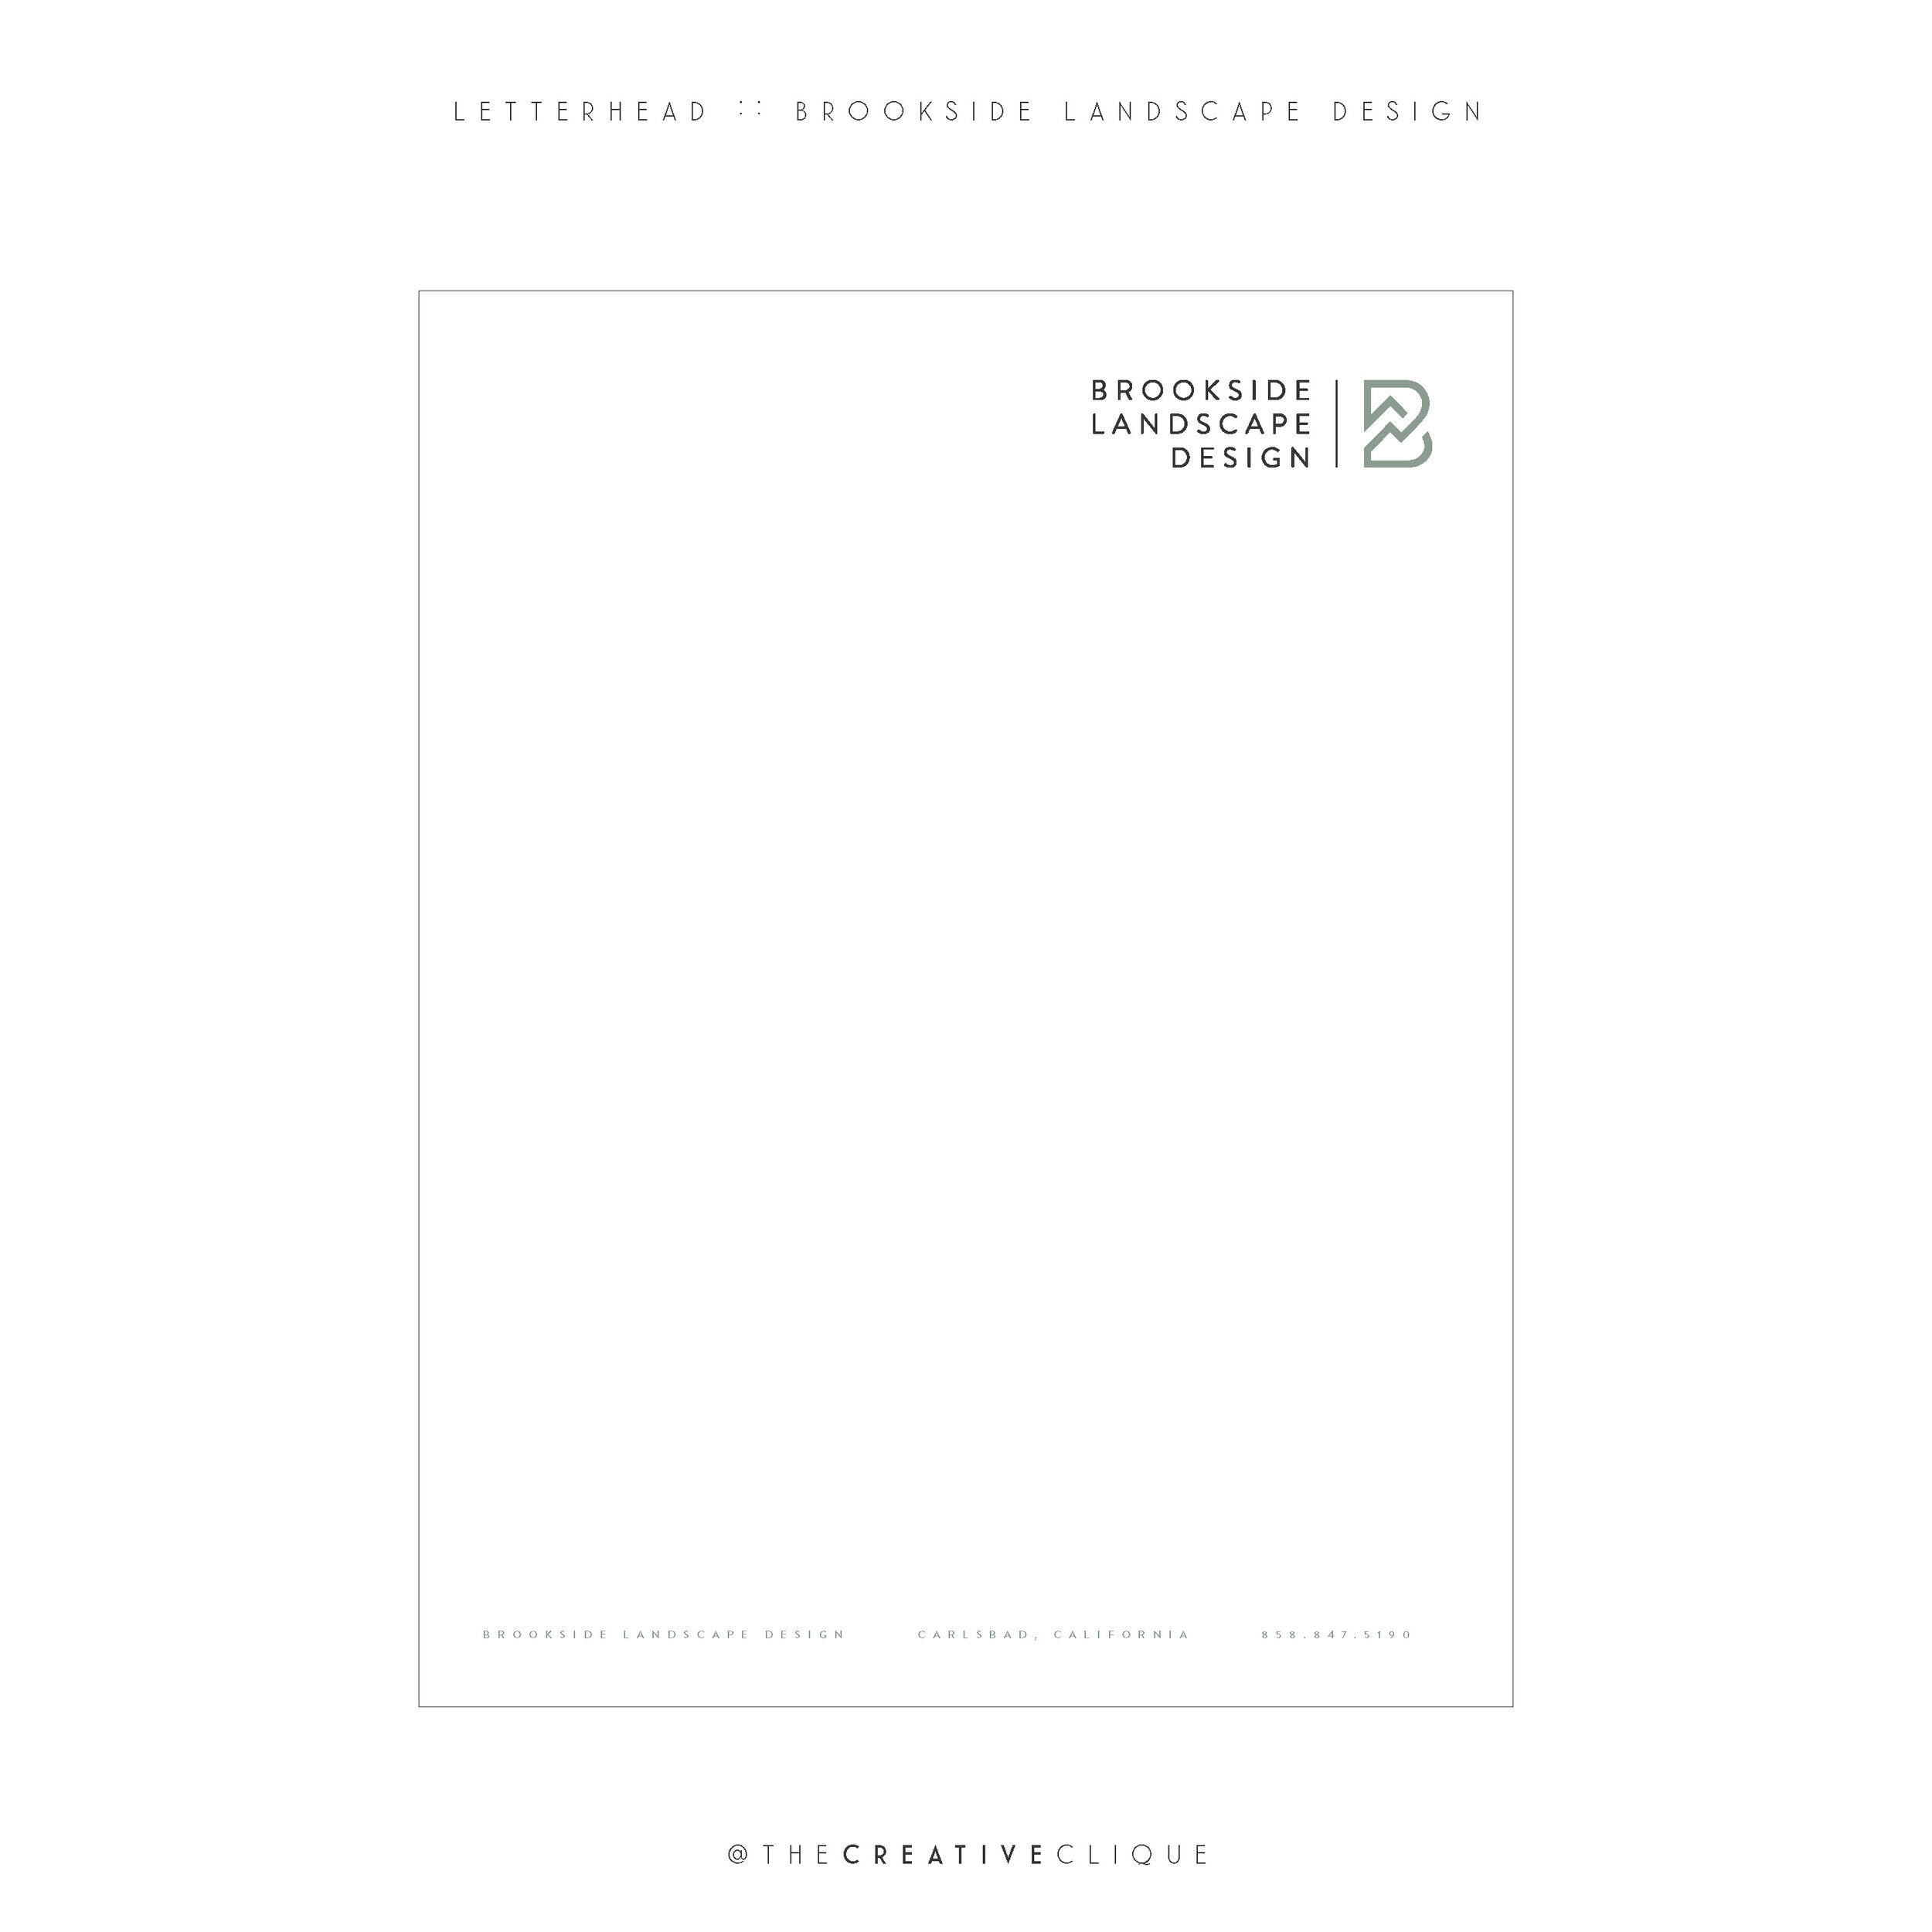
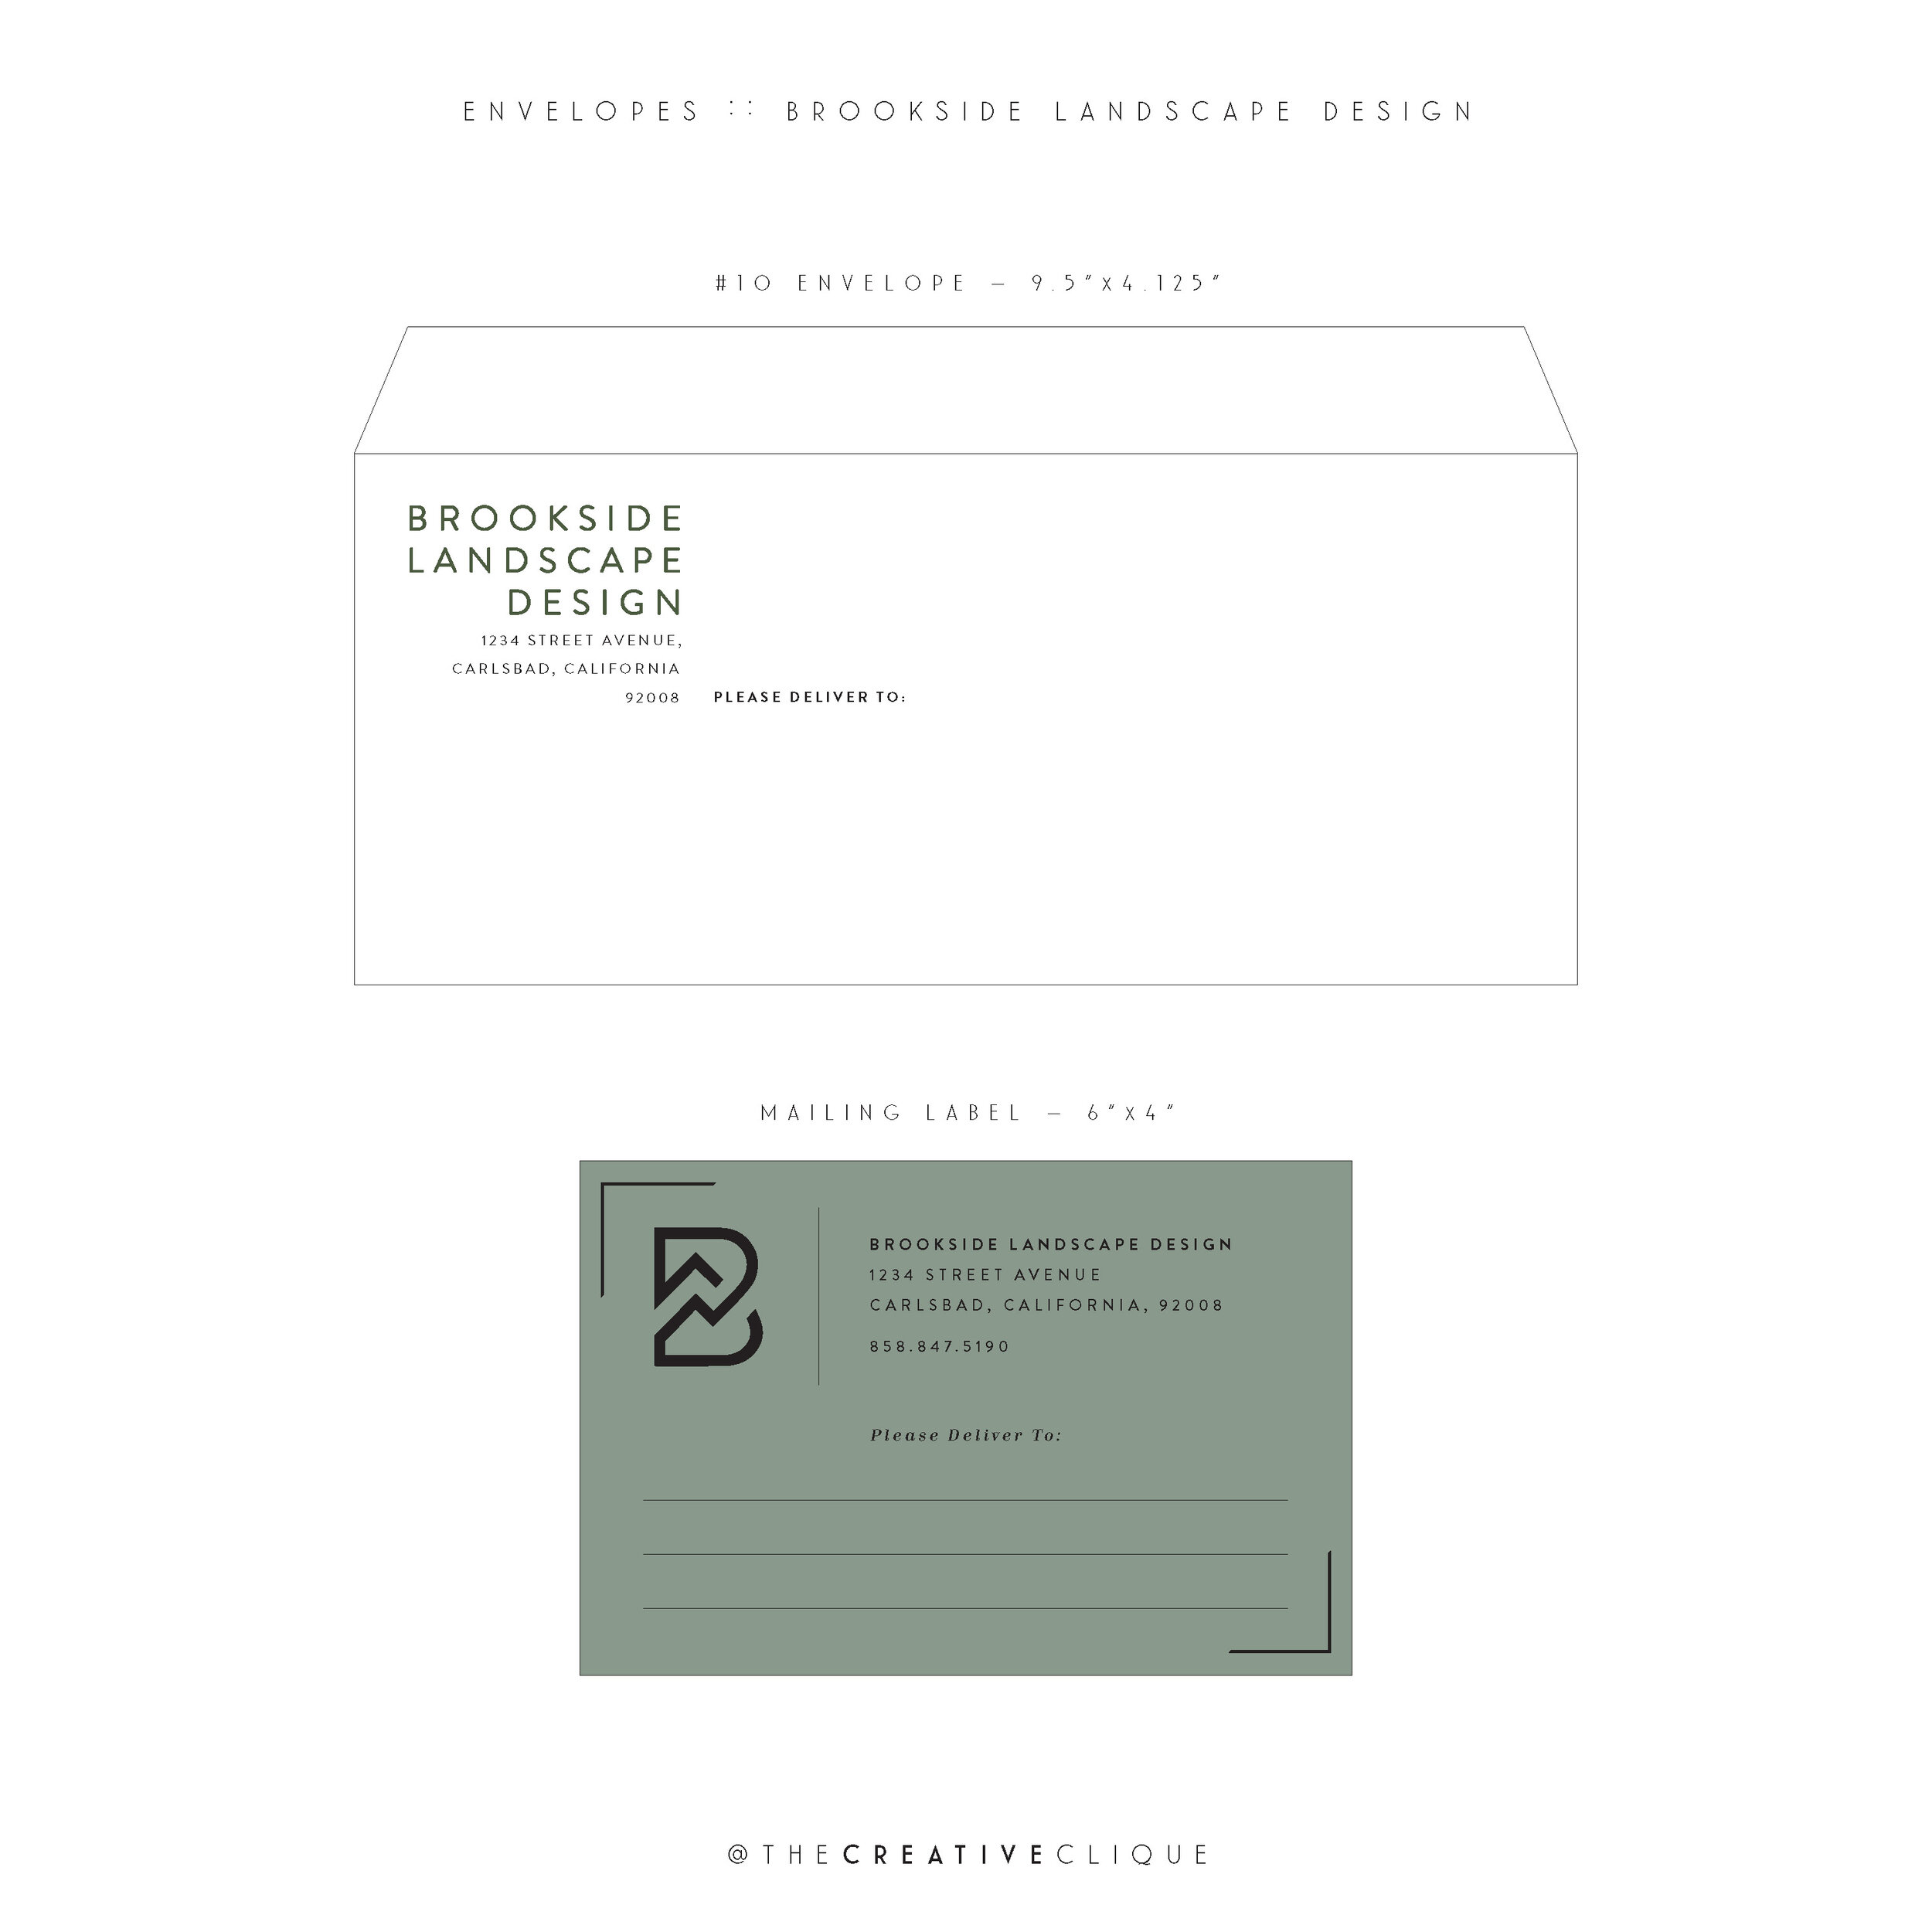
Stationery: business cards, envelopes, letterhead, mailing labels, notepads, news release form, reports, etc.
Online/Social: email signature, website and website masthead, favicon (the mini logo in your website url), Instagram profile image and highlight covers, Twitter profile image and header image, Facebook profile image and header image, LinkedIn profile image and header image, Pinterest profile image and header image, Yelp page, Google listing, etc.
Listings and Certificates: business directories and listings, certificates of incorporation, credit certificates, directory, licenses, permits, etc.
Business Forms: corporate checks, invoices, payroll checks, purchase orders, statements, quotes, etc.
Employee Communications: human resource documents, recruiting materials, awards, etc.
Advertising & Promotions: advertisements, e-mail marketing, apparel, binders, literature, packaging, presentation formats, all marketing collateral, etc.
Signage: building(s), directional, doorways, etc.
If you have any specific questions about the files and/or need advice on next steps, please reach out.
We’re here to help: analia@thecreativeclique.com
xo, Analia